Modern farmhouse kitchen renovation
Complete country home kitchen renovation
The process from start to finish

Before
The original kitchen was due for a makeover.
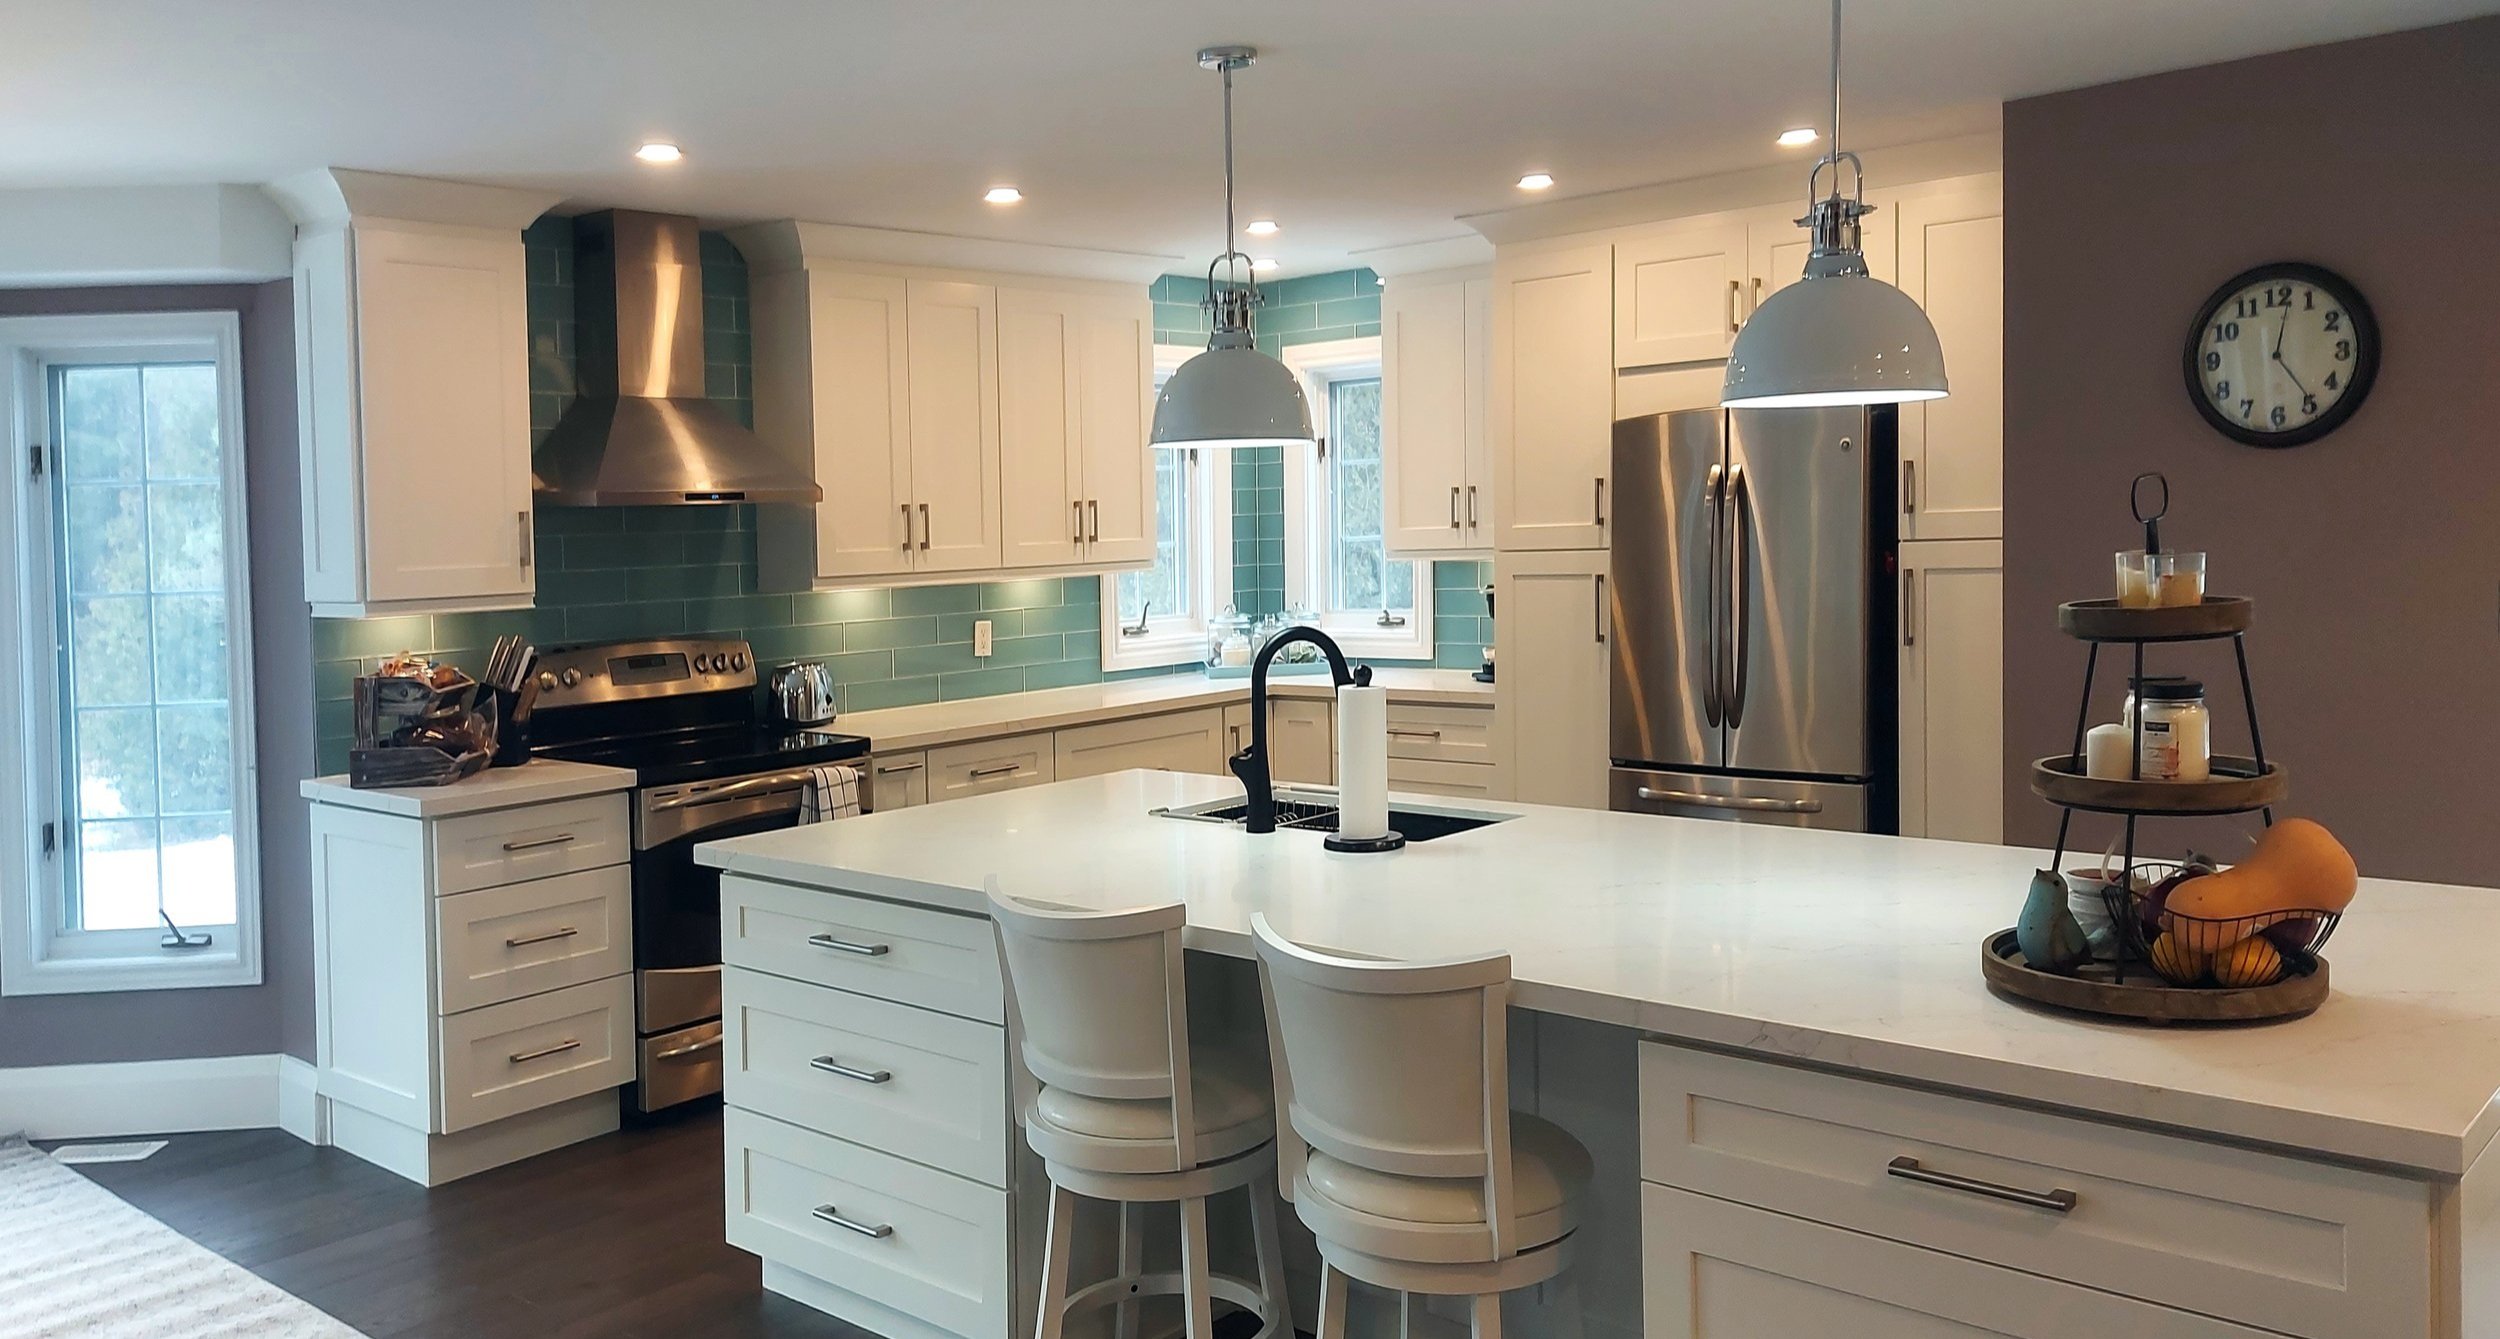
The homeowners’ vision for their new space was to create a modern farmhouse kitchen with plenty of room to cook and enjoy company.
To create the extra room, the plan was to tear down the wall between the kitchen and dining room and create one large, airy, seamless space.

Wall and bulkhead begone
The wall demolition begins. To create a flat ceiling throughout, we replaced the existing bulkheads with new hidden ones and rerouted the heating and air-conditioning ductwork, incorporating it into the existing joist system.
We also installed baffles for all heat "take-offs” from the main heat duct to balance the heating and cooling throughout the house (which was never done by the original builder).
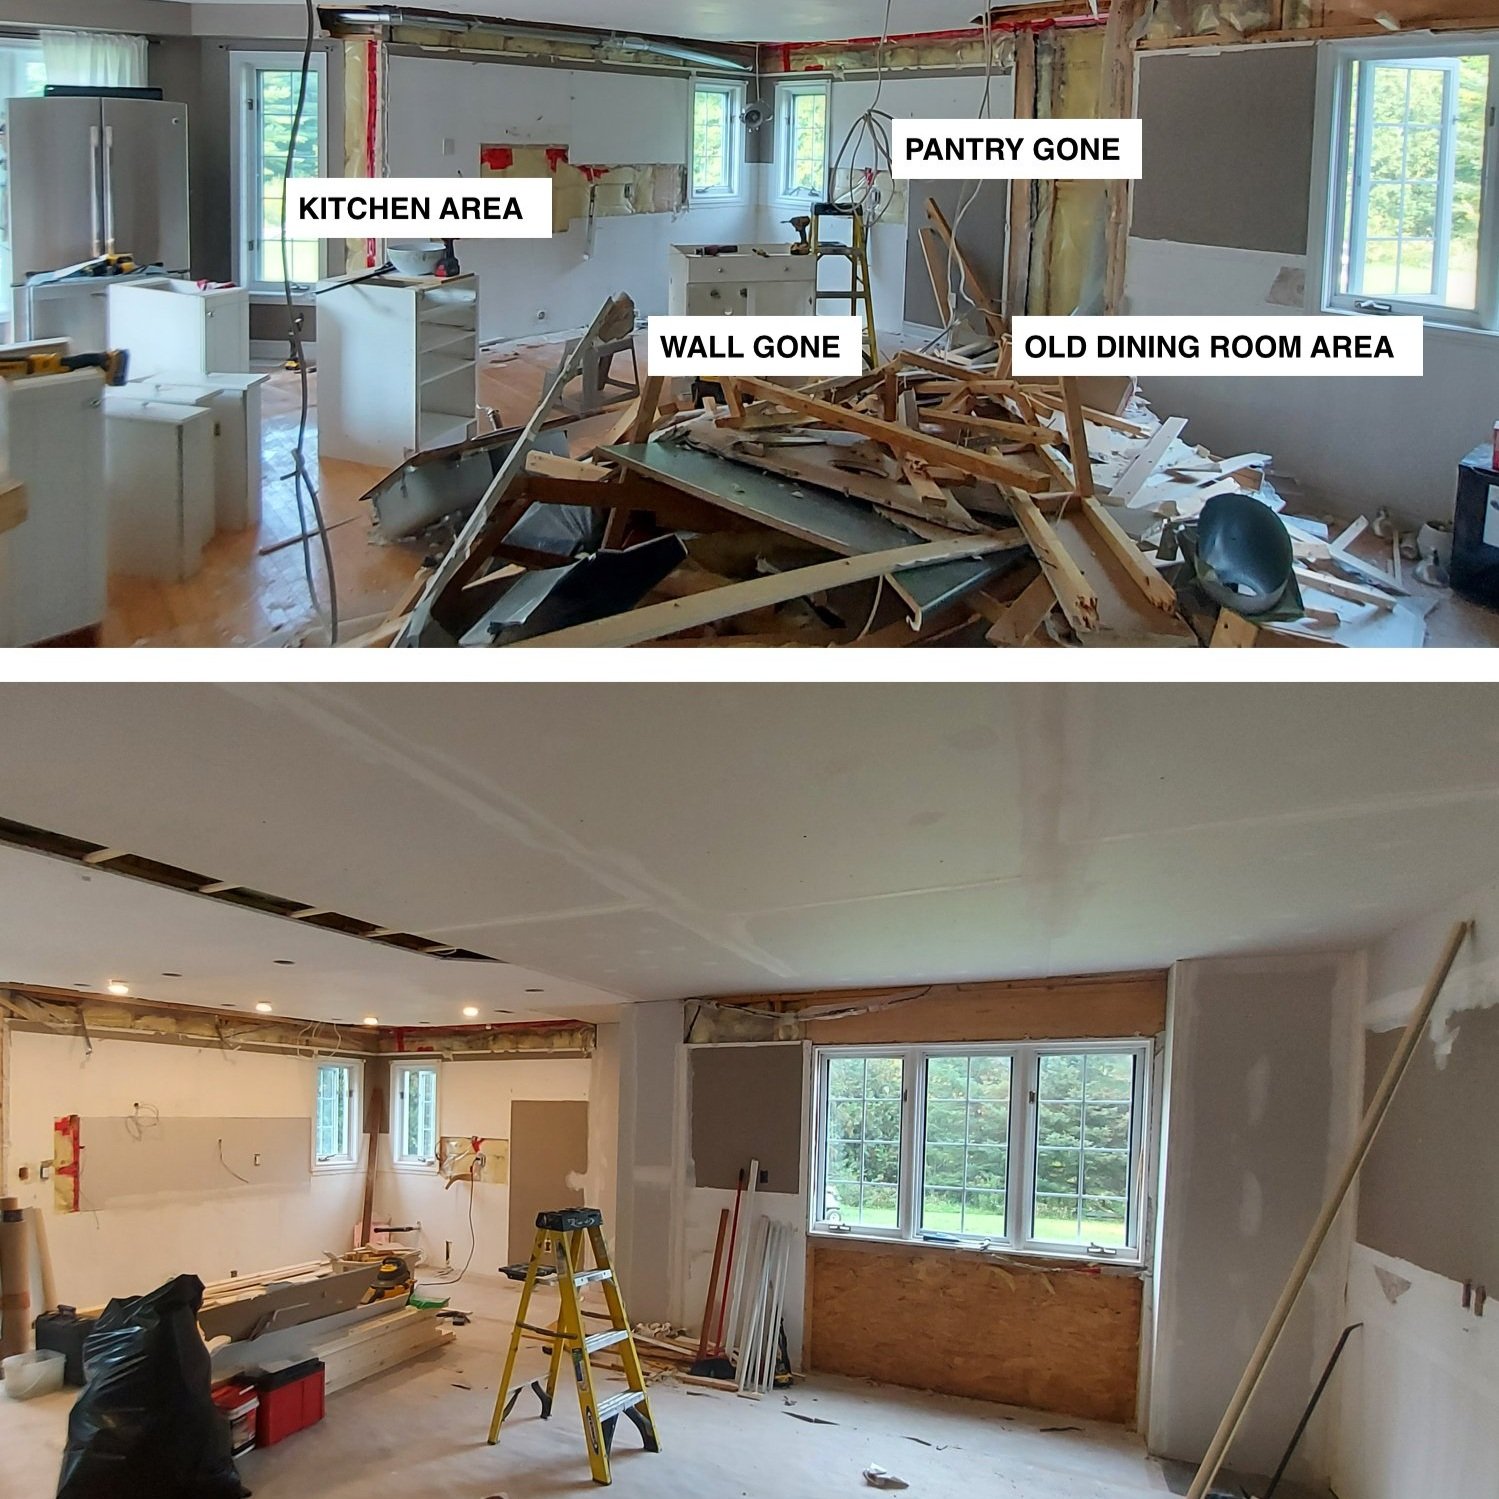
Making space
We demolished the existing kitchen, removed the walk-in pantry, removed the rest of the wall between the kitchen and dining room, and remedied the one-inch ceiling height discrepancy between the two rooms.
You can already see the expansive space that has been created from floor to ceiling.

Adding lots of access to outside
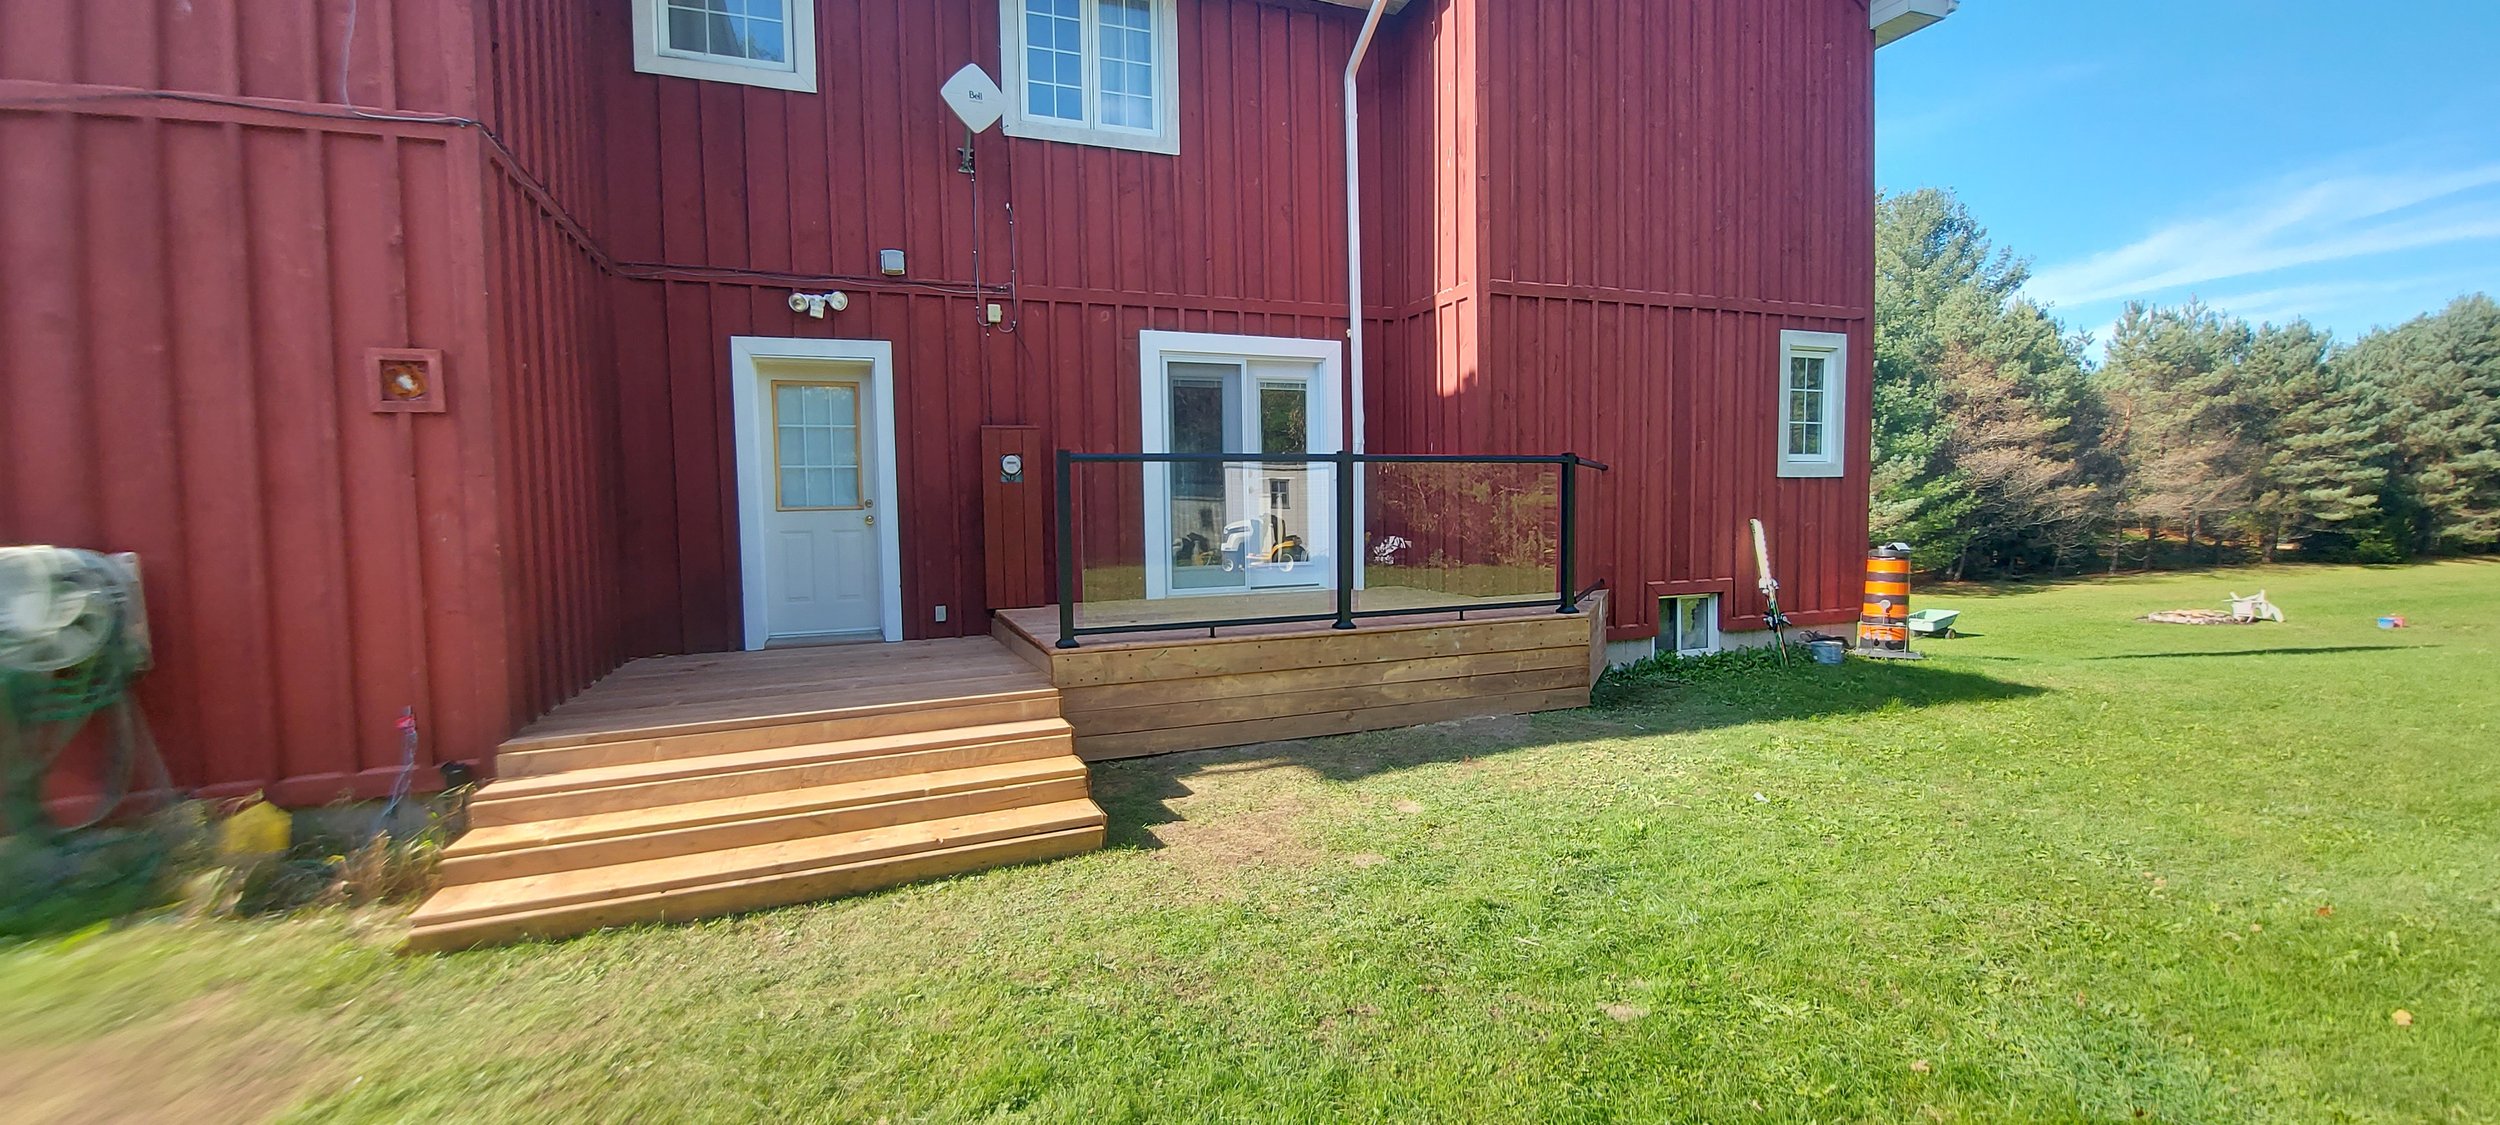
We replaced the old dining room picture window with a French door system to access the new side deck (which we also built).
We also replaced the original French door system leading to the rear deck with a larger French door system, complete with new headers and supporting joists to carry the load of the 2nd-floor elevation.

A perfect canvas
We prepped the space to create our clean canvas.
We started adding new pot lights, installed dimmer switches to isolate various light zones and also sourced and installed lighting outside of the new side deck French door system including new weatherproof outlet for the outside smoker.
We also removed original flooring and installed new five-inch hardwood flooring including bull nosing that was tinted to match the new flooring colour. We also installed and painted five-inch baseboards.
“We were very impressed by how quickly they (Titan Renos North) started, and their professionalism and attention to detail. Within two weeks, the wall, ceilings, and old flooring were gone, new drywall was in place and the new floor was installed”.
- Dave King, homeowner

Let the building begin
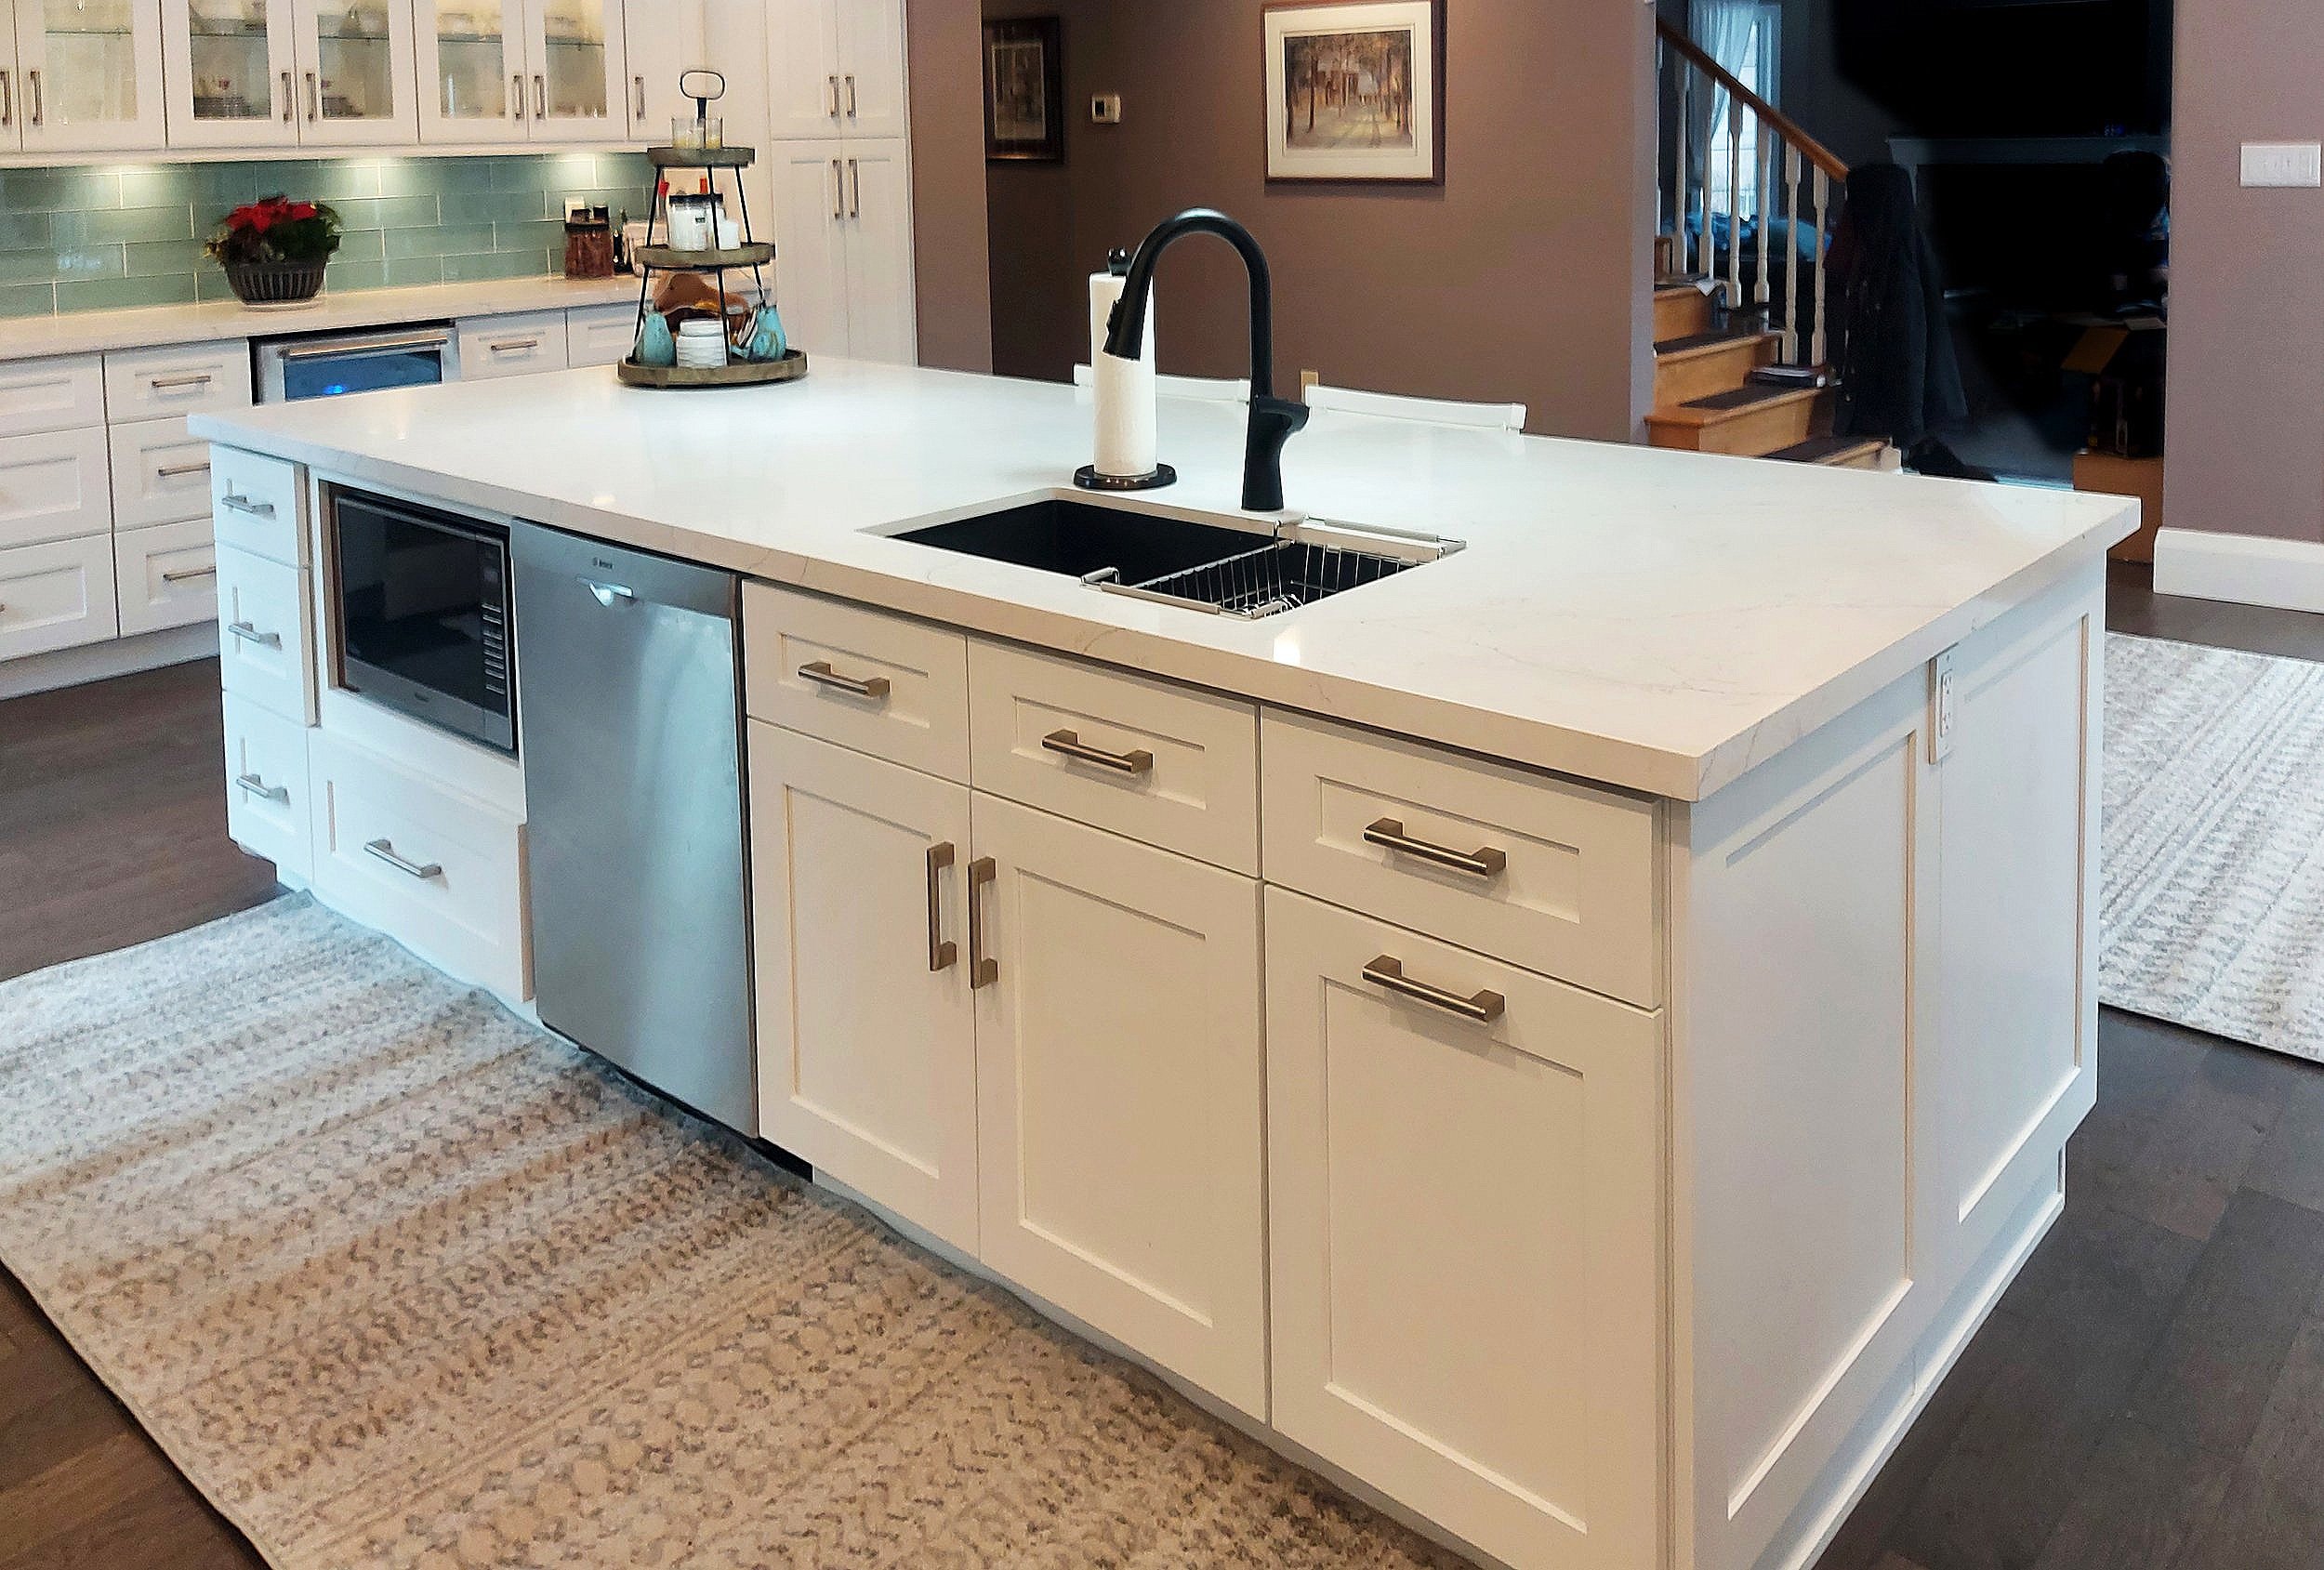
We built the new kitchen island and rerouted the plumbing supply and drain line to accommodate the new island location of the sink and dishwasher.
We also installed the custom cabinetry throughout and equipped the glass cabinets and under-cabinet areas with lighting.
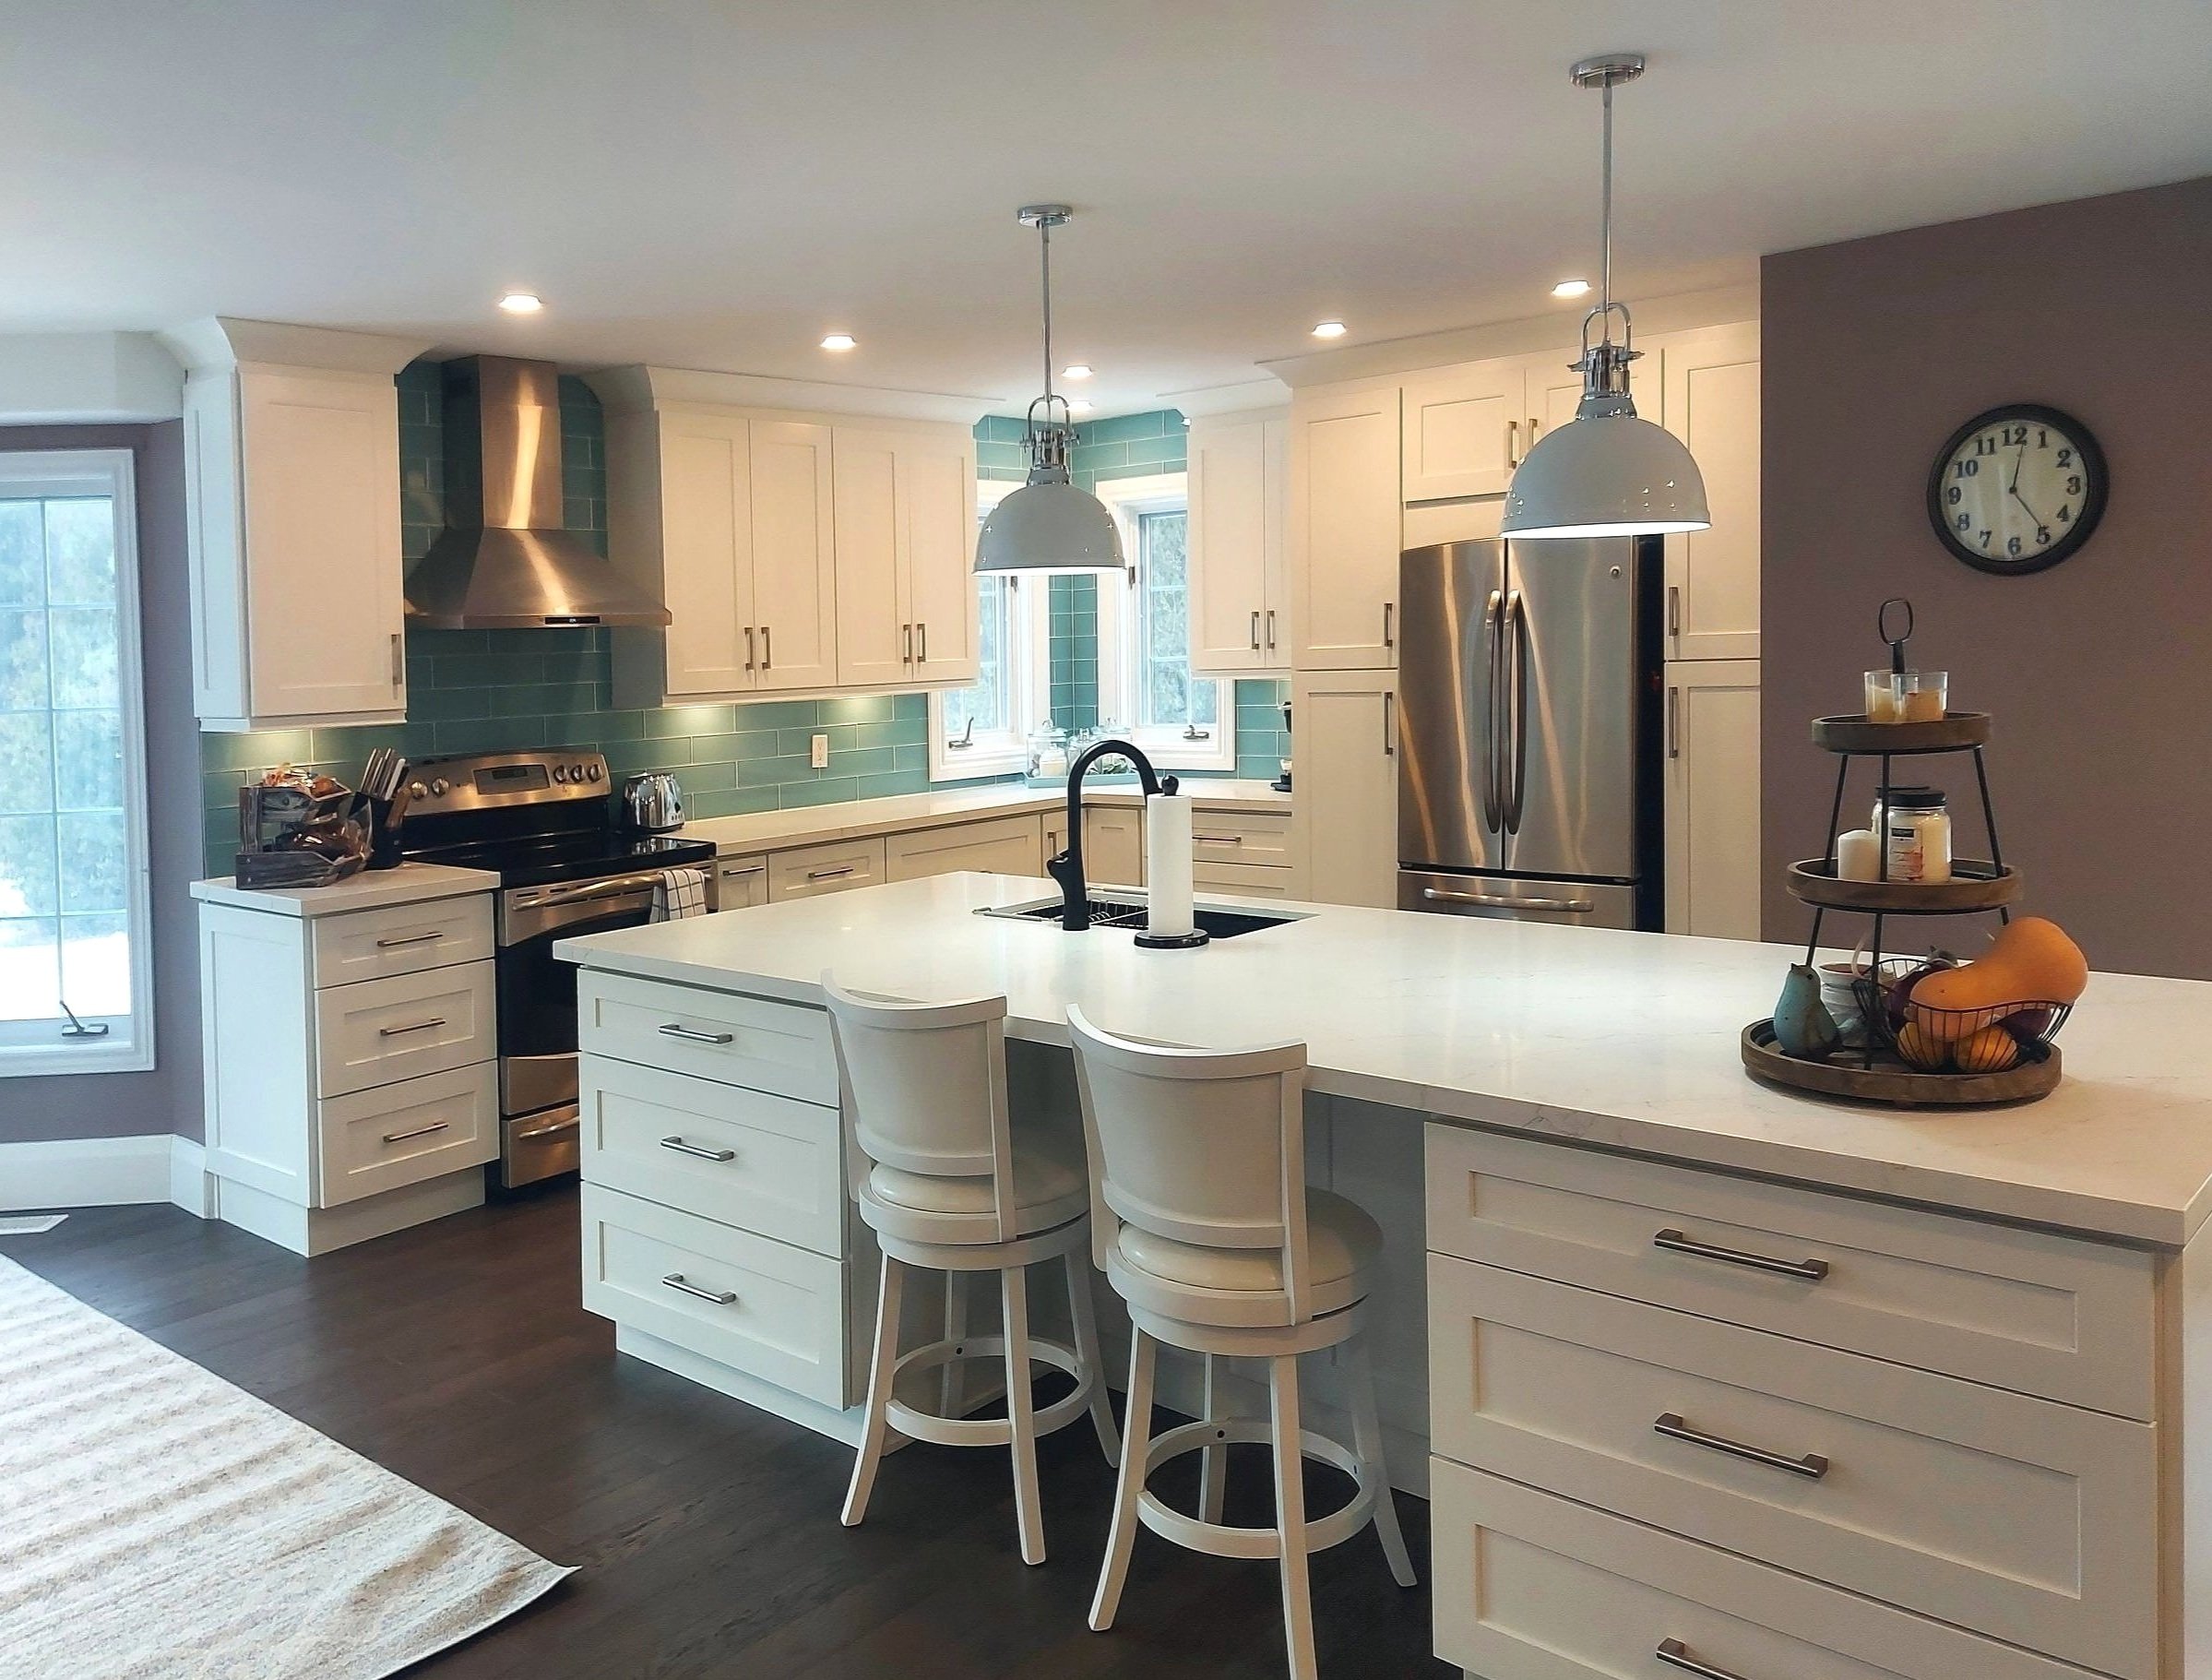
The final touches
We installed the under-mount sink, dishwasher and microwave, and outlets on either side of the island.
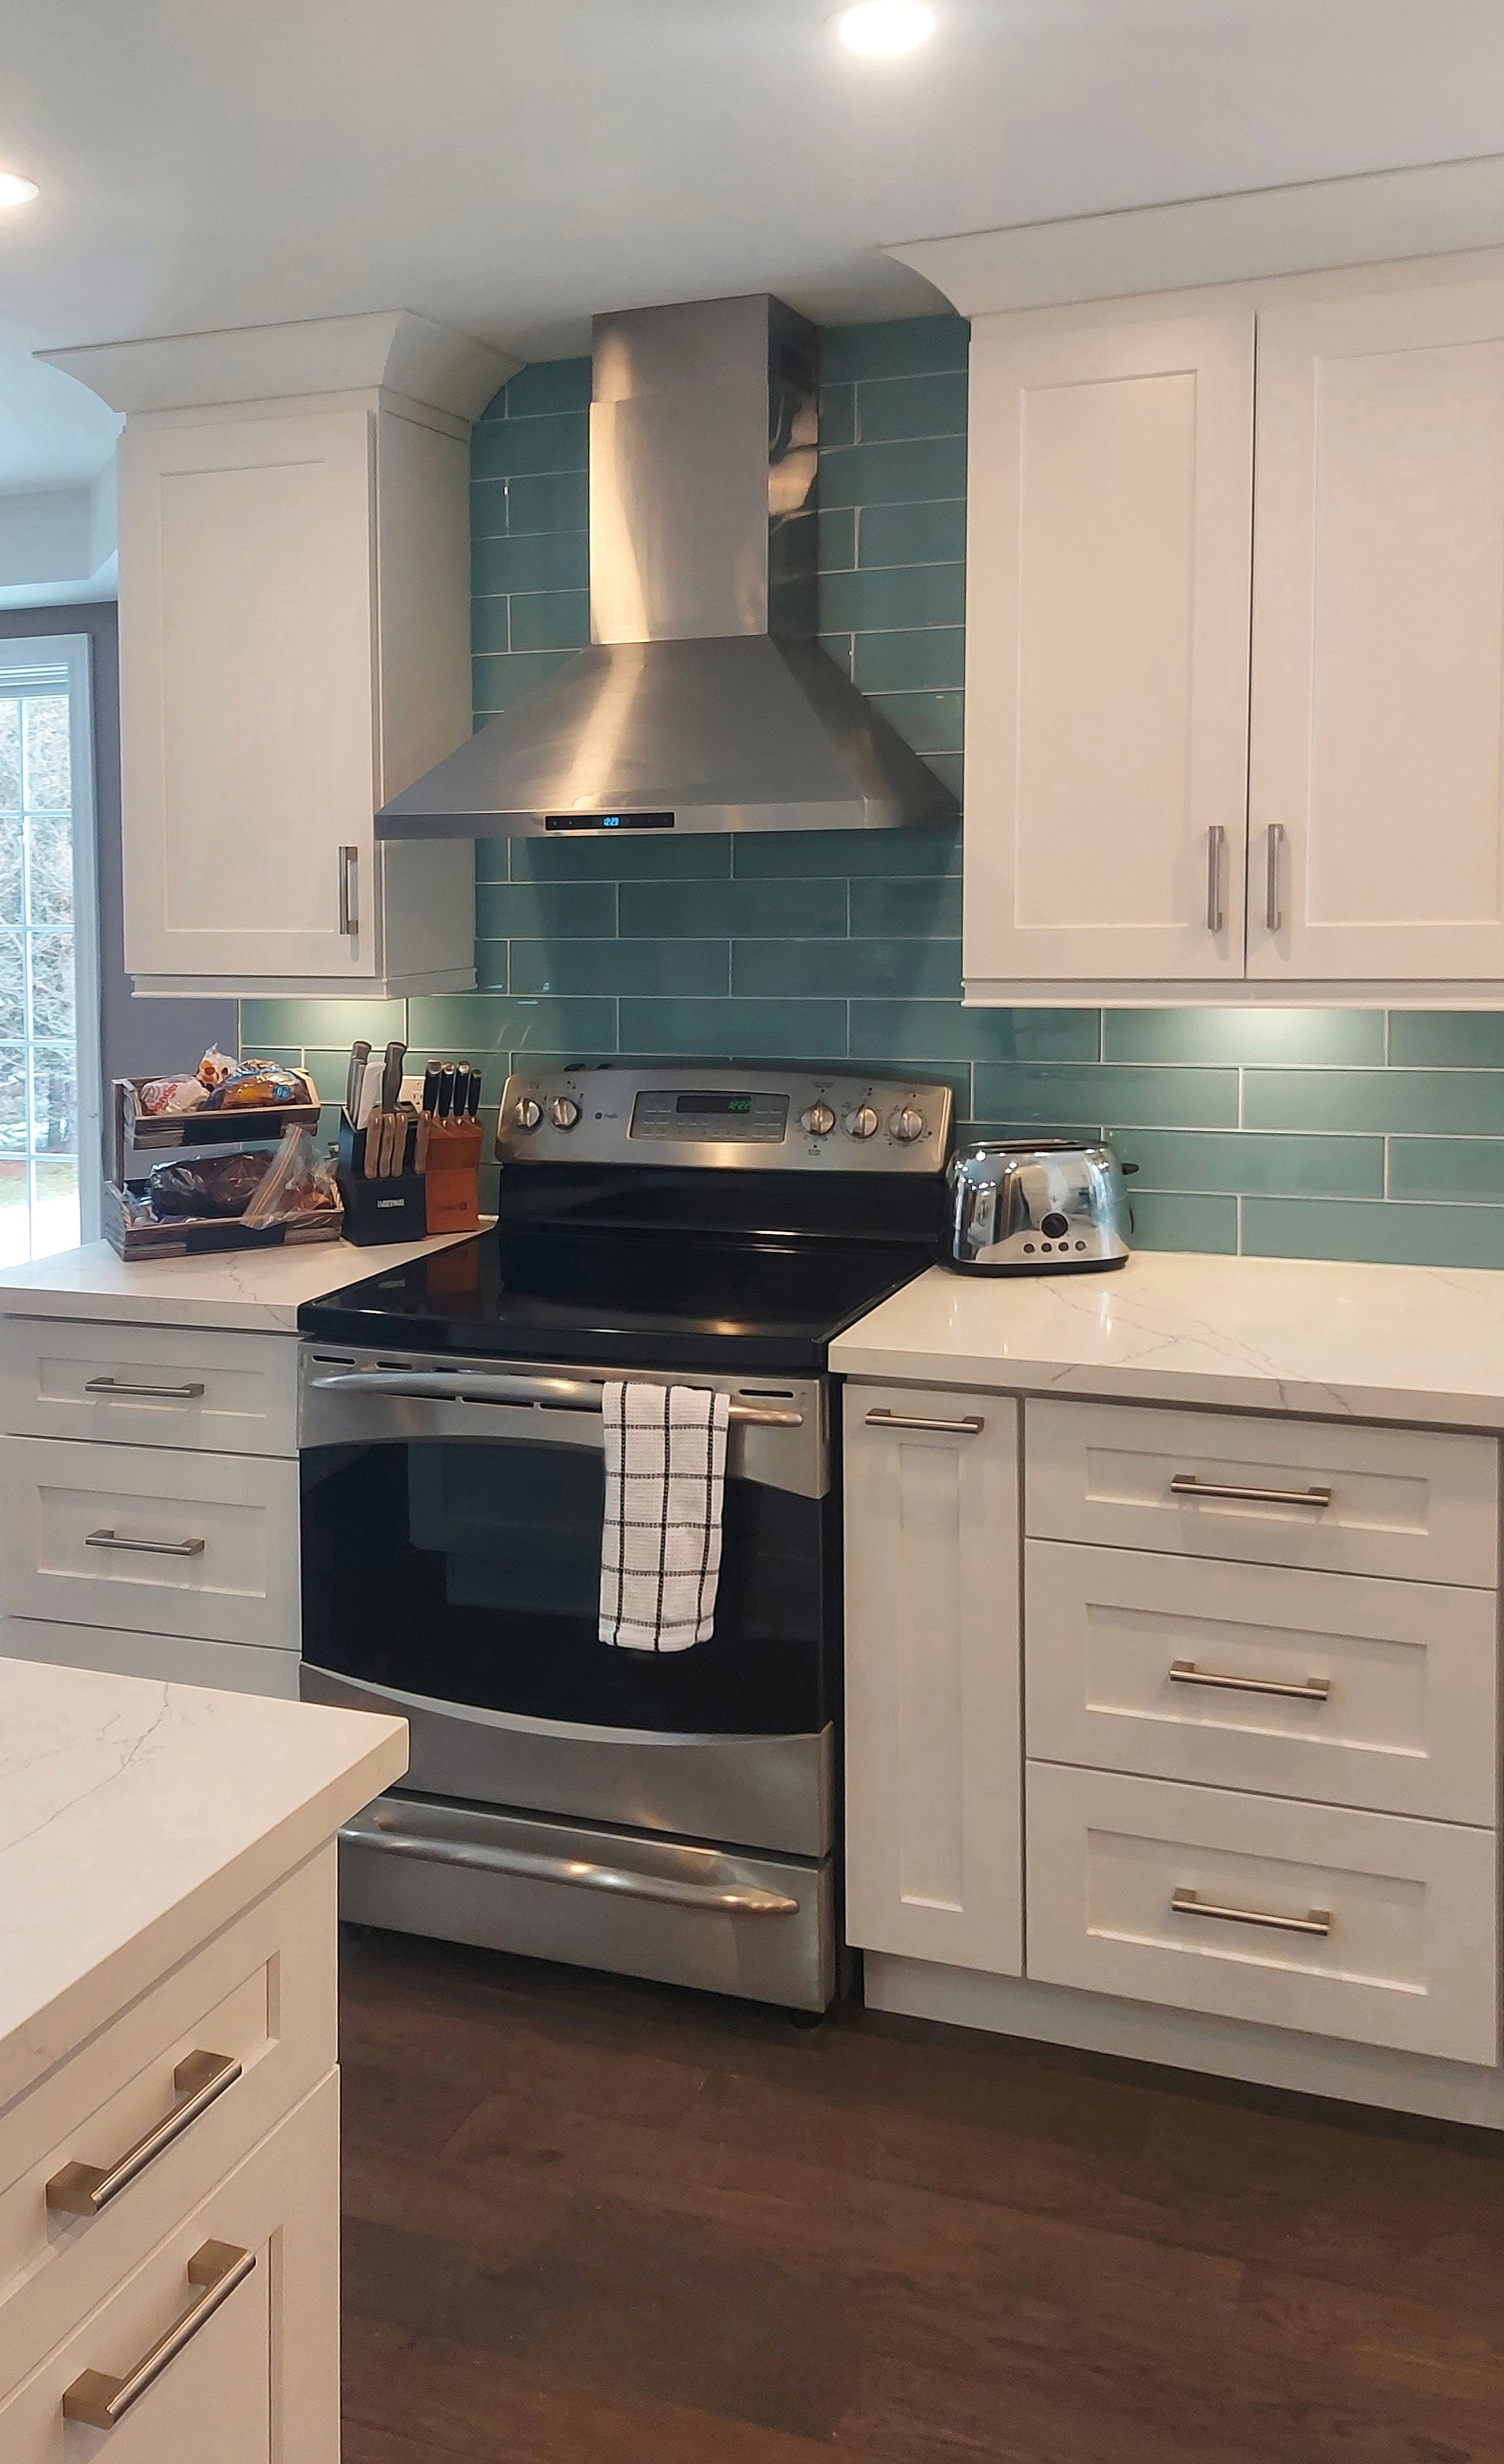
The backsplash areas were finished with 3 x 12-inch Aqua glass subway tiles complete with custom colour matched silicone which looked fabulous next to the Cesar Stone countertops throughout.
And finally, we supplied and installed a new stove range hood and vented it to the outside (which was not done before).
“The final product was beyond our expectations and we are extremely happy.
Our experience with Titan Renos was very positive. They gave us good suggestions and were easy to approach with questions and minor design changes. We would use Titan Renos in the future as well as recommend them to our friends.”
– Dave King, Homeowner
Gallery of finished kitchen